Wednesday, November 20, 2013

Hangout Hoodie FLIP!!

I've been thoroughly enjoying the Flip this Pattern series over on Frances Suzanne.  I have no yet participated, but when I saw the Hangout Hoodie was coming up from one of my most favorite pattern designers, I just couldn't resist this go round!  I very rarely stick to a pattern 100%, so this was right up my alley.  

So I present to you my flipped creation: 


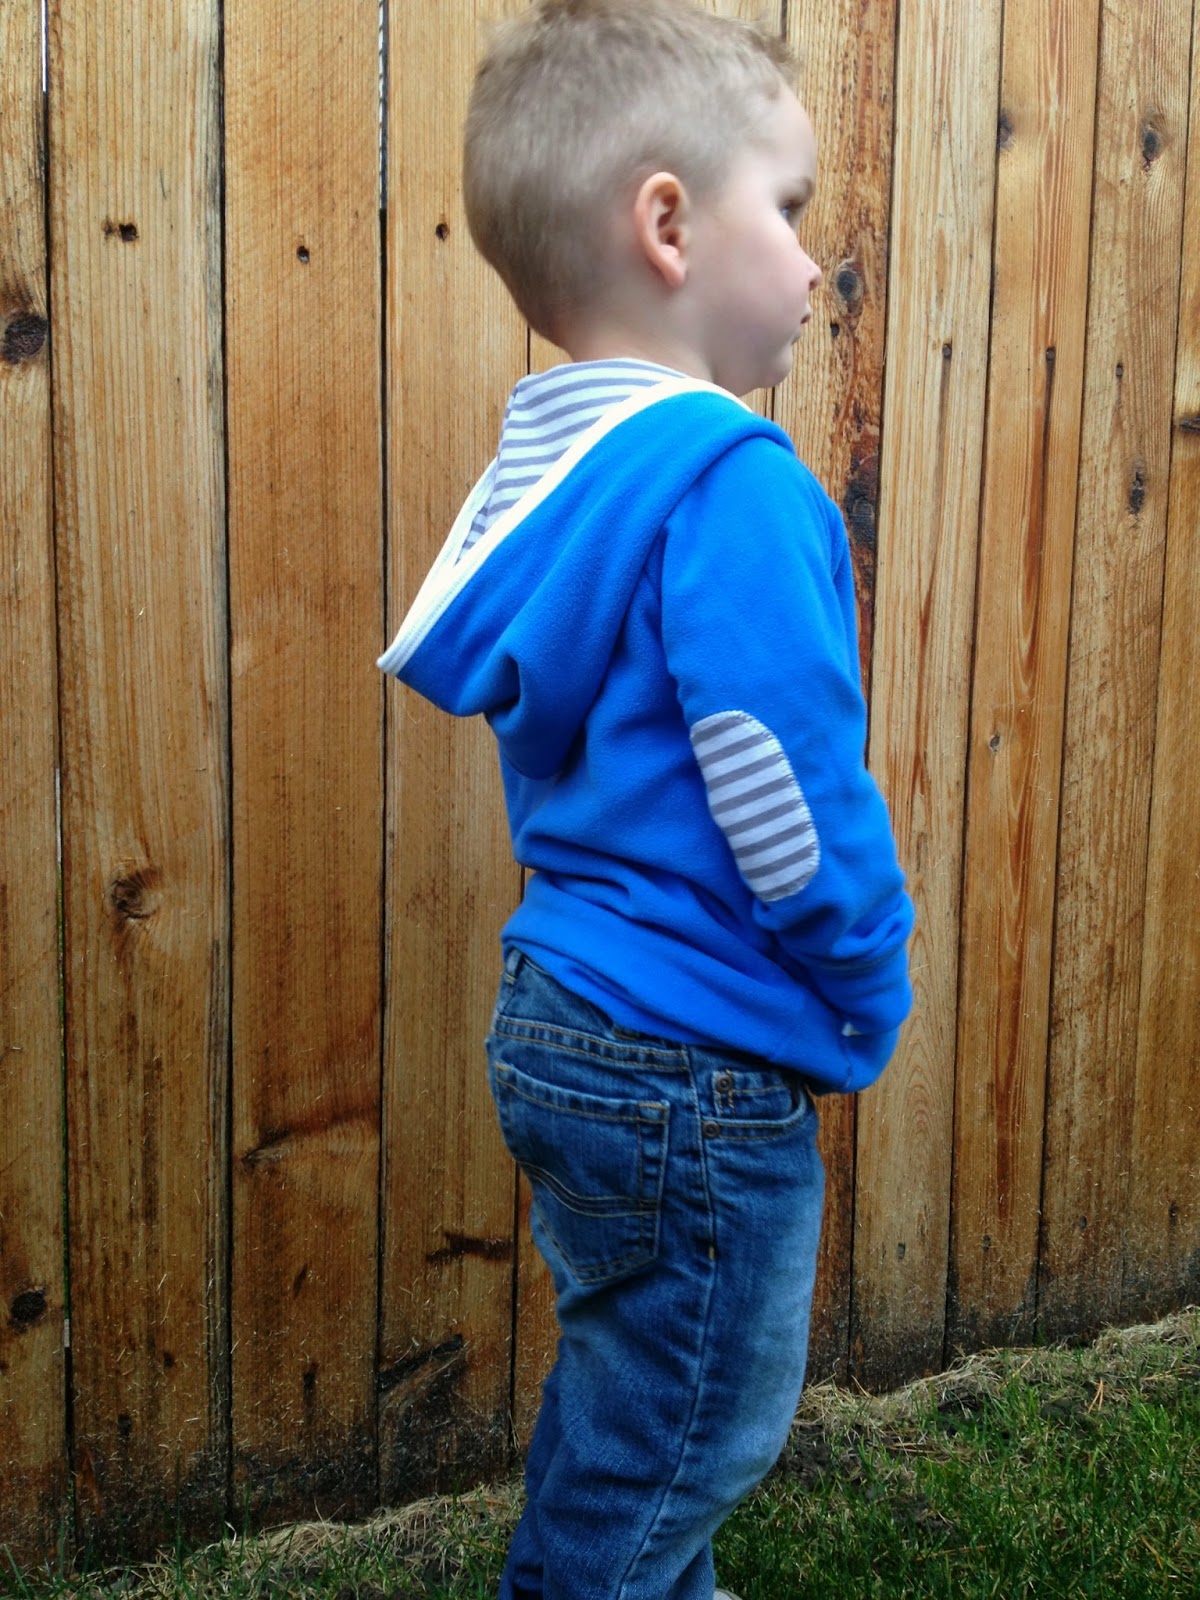
 It's pretty much just a hoodie, but with a few (I think) awesome modifications.  The most obvious, a zipper!  I love everything about the hangout hoodie, except for the placket.  I just wasn't a fan of the half-open half-closed can't-decide-what-it-wants-to-be look.  There's absolutely nothing wrong with it, just not my style.  But I loved the contrast placket and how it extended into binding for the hood.  I tried to preserve that as best I could, just adding a zipper to keep things together. 


Other modification:
-I went two sizes up so I could use microfllece for the body to give it more of a sweatshirt feel. 
-I made my hood much bigger/deeper.  I like a hood with good coverage!
-Lined the hood so I could have a fun accent.
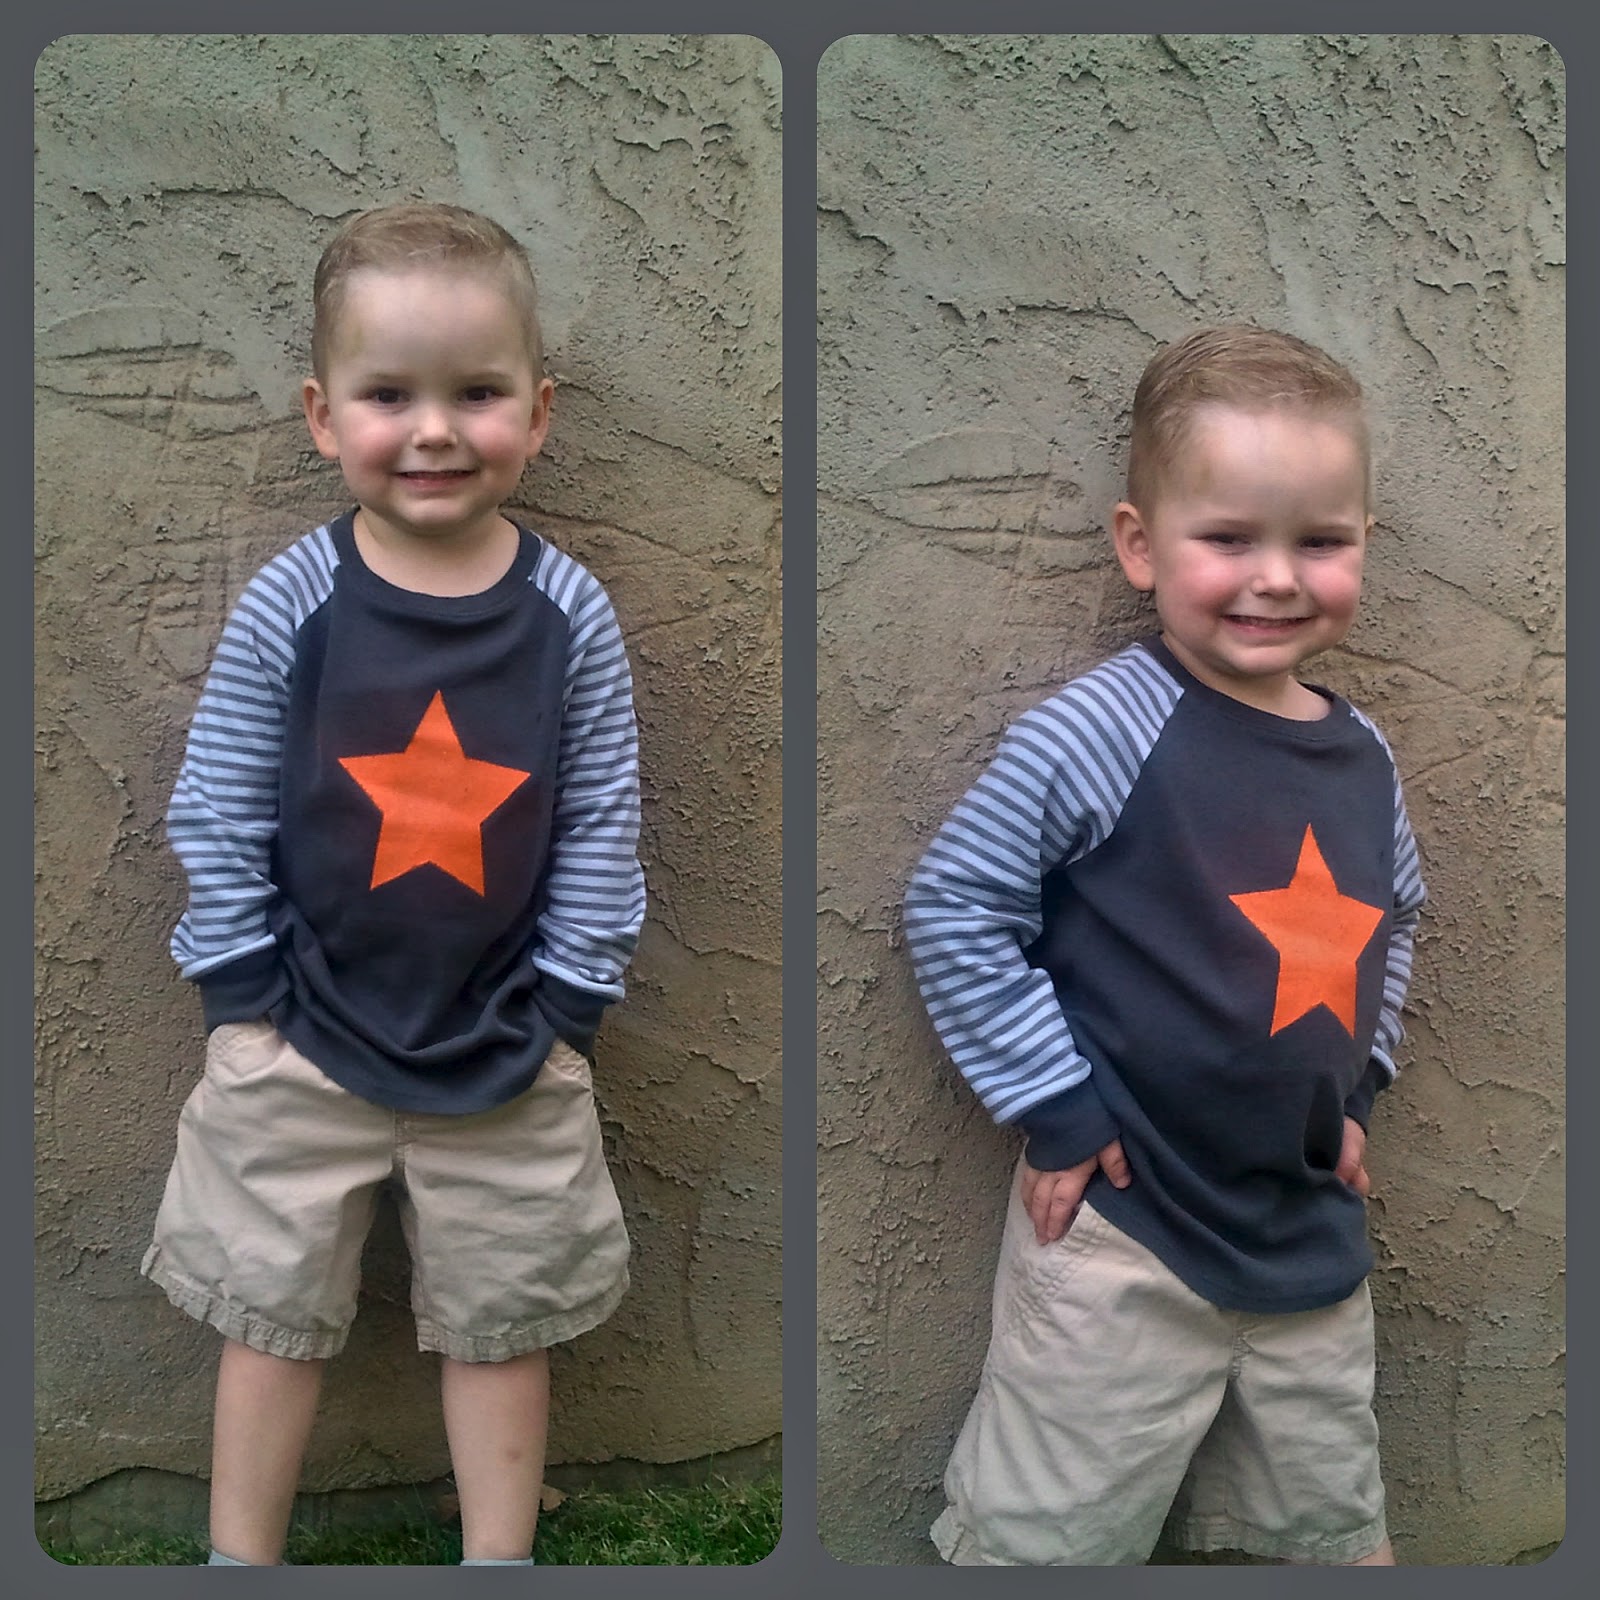
-Added a lined kangaroo pocket based off of a sweatshirt he already had.
-Elbow patches! Because who doesn't love a good elbow patch!
-Fun topstitching where the sleeves and cuffs meet to look like a coverstitch. 


 Overall, I am so pleased with how this came out!! It's seriously one of my most favorite things I have ever sewn!


Flip This Pattern

Wednesday, October 2, 2013

Halloween Inspiration

I have yet to do any Halloween sewing/crafting this year but it's definitely on my to do list!  I've been organizing all my photos from the past two years and came across these.  They got me excited to get my rear in gear and get going on this year's Halloween costumes.  And I better start soon, I'm really nervous if I can pull it off this year! 

Two Halloweens ago I got my hands on this adorable black ghost fabric (Riley Blake I believe).  They immediately became ghost jammies for my oldest guy, and I just loved them.  We wore them well past Halloween and I didn't even care.  Shortly after Halloween I stumbled across a website with all Halloween fabrics on clearance.  That's when I snagged up the orange ghost print, and one of the few times I knew EXACTLY what I would be doing that fabric!

Fast forward one year later... the black ghost pants now fit brother perfectly and Tot got a brand new pair in orange.  I don't know why, but these ghosts just make me so happy!  Obviously mom-forced photos don't make my kids happy but, what can you do?

But that was last year.  This year I don't plan on making any Halloween jammies.  I've got my hands full with costume making.  Also, I haven't come across any Halloween fabric that I love quite as much as these cute little ghosts. 


 I also tried my hand at making costumes last year.  I only made one out of two, but I'm still pretty darn proud of that one!  It's a fox!  And his brother is a racoon (thank you Costco!).  The jacket portion of the costume is a mash-up of about four different patterns.  Not my best work, but I still loved it!  And the pants are from the free Kid's Pants pattern over on Made. 


 Complete with a cute little tail sticking out!


Oh I love that little fox!  Time to stop reminiscing and get moving on this year!  Fingers crossed they will be done before Halloween, and meet picky four-year-old expectations! 


Wednesday, September 25, 2013

PRP: Lil' Lumberjack

Here we are, week 3!  I was so excited for this week.  I have had this fabric for almost a year now, with the intentions to make this exact shirt but then never got around to it.  So thank you Project Run and Play for motivating me to finally finish a project! 

 I realize I haven't done anything earth-shattering with my plaid design, but I think it suits my little guy perfectly.  And I just can't seem to get enough of him in his awesome new shirt!
 

It is truly amazing that this project got finished.  I added a little wiggle room to  my self-drafted pattern, and somewhere along the line I really messed up the front overlap.  Of course I didn't realize this until the very last step of attaching the collar.  I have never done so much seam ripping on a single project, and had it not been for the looming deadline of PRP, I know I would have tossed it aside never to be touched again.

However I persevered, and wouldn't you know it... I ended up with a shirt I absolutely love!

 That's his serious fishing face

I used a nice, sturdy flannel for the shirt.  Perfect for layering for the chilly fall weather coming up.  The perfect shirt to wear fishing or hiking with his Dad. 


The back yoke and pocket are cut on the bias.  And my most favorite detail... the  sleeve cuffs!  

The sleeve cuffs/placket are made out of solid black twill, as well as the under collar and the under collar stand.  I thought it would be a fun, modern touch on an otherwise rugged shirt.

And can I just say how proud I am of those sleeve cuffs!  I've probably made 4 button-up shirts before this, and I have always cheated on the sleeves.  I ALWAYS cuff the sleeves, so I would just hem them like you would a short sleeved shirt since I knew no one would ever see it but me.  So happy to have finally conquered that sewing technique!


And a few more details:
Pattern:  Mostly self drafted, but I used the sleeves off the Peek-a-Boo Patterns Classic Oxford Shirt
Fabric:  Black twill from Joanns.  Buffalo check from Joanns.

Off to sew like crazy for next week!


Thursday, September 12, 2013

PRP: Starburst and Stripes Tee

 My first post.. how exciting!! I've been a long time follower of Project Run and Play, and have finally decided to try out a few sew-alongs.

When I read the themes for this season I sort-of dismissed this week.  Don't get me wrong, I love candy.  But when I think of candy I think of bright, crazy, over-the-top and in-your-face colors! And that is so far from my personal aesthetic I wasn't even going to try.

But then a Mini Boden catalog arrived in the mail and while looking through it with my son he found a shirt he LOVED.  This shirt to be exact.   And of course the first thought in my head was "I can totally make that!"  Gears started turning in my head about how I could incorporate this into PRP and, while, here we are!

So here it is:  our starburst and stripes tee


A nice basic raglan long sleeved shirt with a bright bold star to reference his new favorite candy: starburst!  I'm in love with how the shirt turned out.  Thankfully he loves it to, so we'll get lots of use out of it this winter.  


A few more details if you're interested:
Fabric:  The charcoal is an old tee of mine.  The striped is interlock from Joanns.
Star:  Acrylic paint mixed with textile medium, freezer paper stenciled on.
 
Excuse the lack of pictures.  I snapped these quickly on the way out the door to preschool with intentions to take close-ups later on.  While, he came home from preschool  a complete mess so that wasn't going to happen.  But come back next week, I've got something totally awesome in the works for plaid week, can't wait!